I’ve been meaning to document this for a while now, but better late than never. I’ve been ramping up since ~Thanksgiving 2025, but basically only averaging 18 miles/week since then (with a peak of 31 miles in a week). Steady (big!) monthly mileage increases since November, and I definitely feel like I’m improving – more runs that would have counted towards Tempo or Threshold are now counted as Base. Treadmill runs aren’t intimidating because of time or pace anymore, but because they’re so boring (the Olympics have helped so much lately). I’m definitely noticing myself plateauing in strength training, which is not really surprising; I’ll be happy if I can maintain weight from now through race day.
Through November, I was on my old Mizuno Wave Inspire 21’s, but had consistent tightness/pain in my left ankle/calf. I was near 200 miles on those shoes with probably mediocre form, so I figured new shoes might help, so I picked up a pair of Hoka Clifton 10’s. I’m kind of anit-Hoka just because they’re a trendy running brand and I don’t want to identify as that kind of person, but they fit and felt the best at Fleet Feet, so I went with it. They gave me blisters on the bottom of the arch of my foot, so I started taping that spot of my right foot. Since then, no blisters, dunno if I actually need the tape or not after building up some calluses. Also not sure if they actually solved any ankle issues.
More recently my knees have been bothering me after, but not during, treadmill sessions. The left kind of fits the theme of finding the next weakest link, and the right I’m attributing most of the pain to damage from a backcountry snowboarding crash where I basically tried to bend my knee the wrong way by riding into a fallen tree that was hidden by snow. Basically going up stairs is OK, but going down is terrible; bending my right knee to go down a step is basically unbearable for a few hours after running.
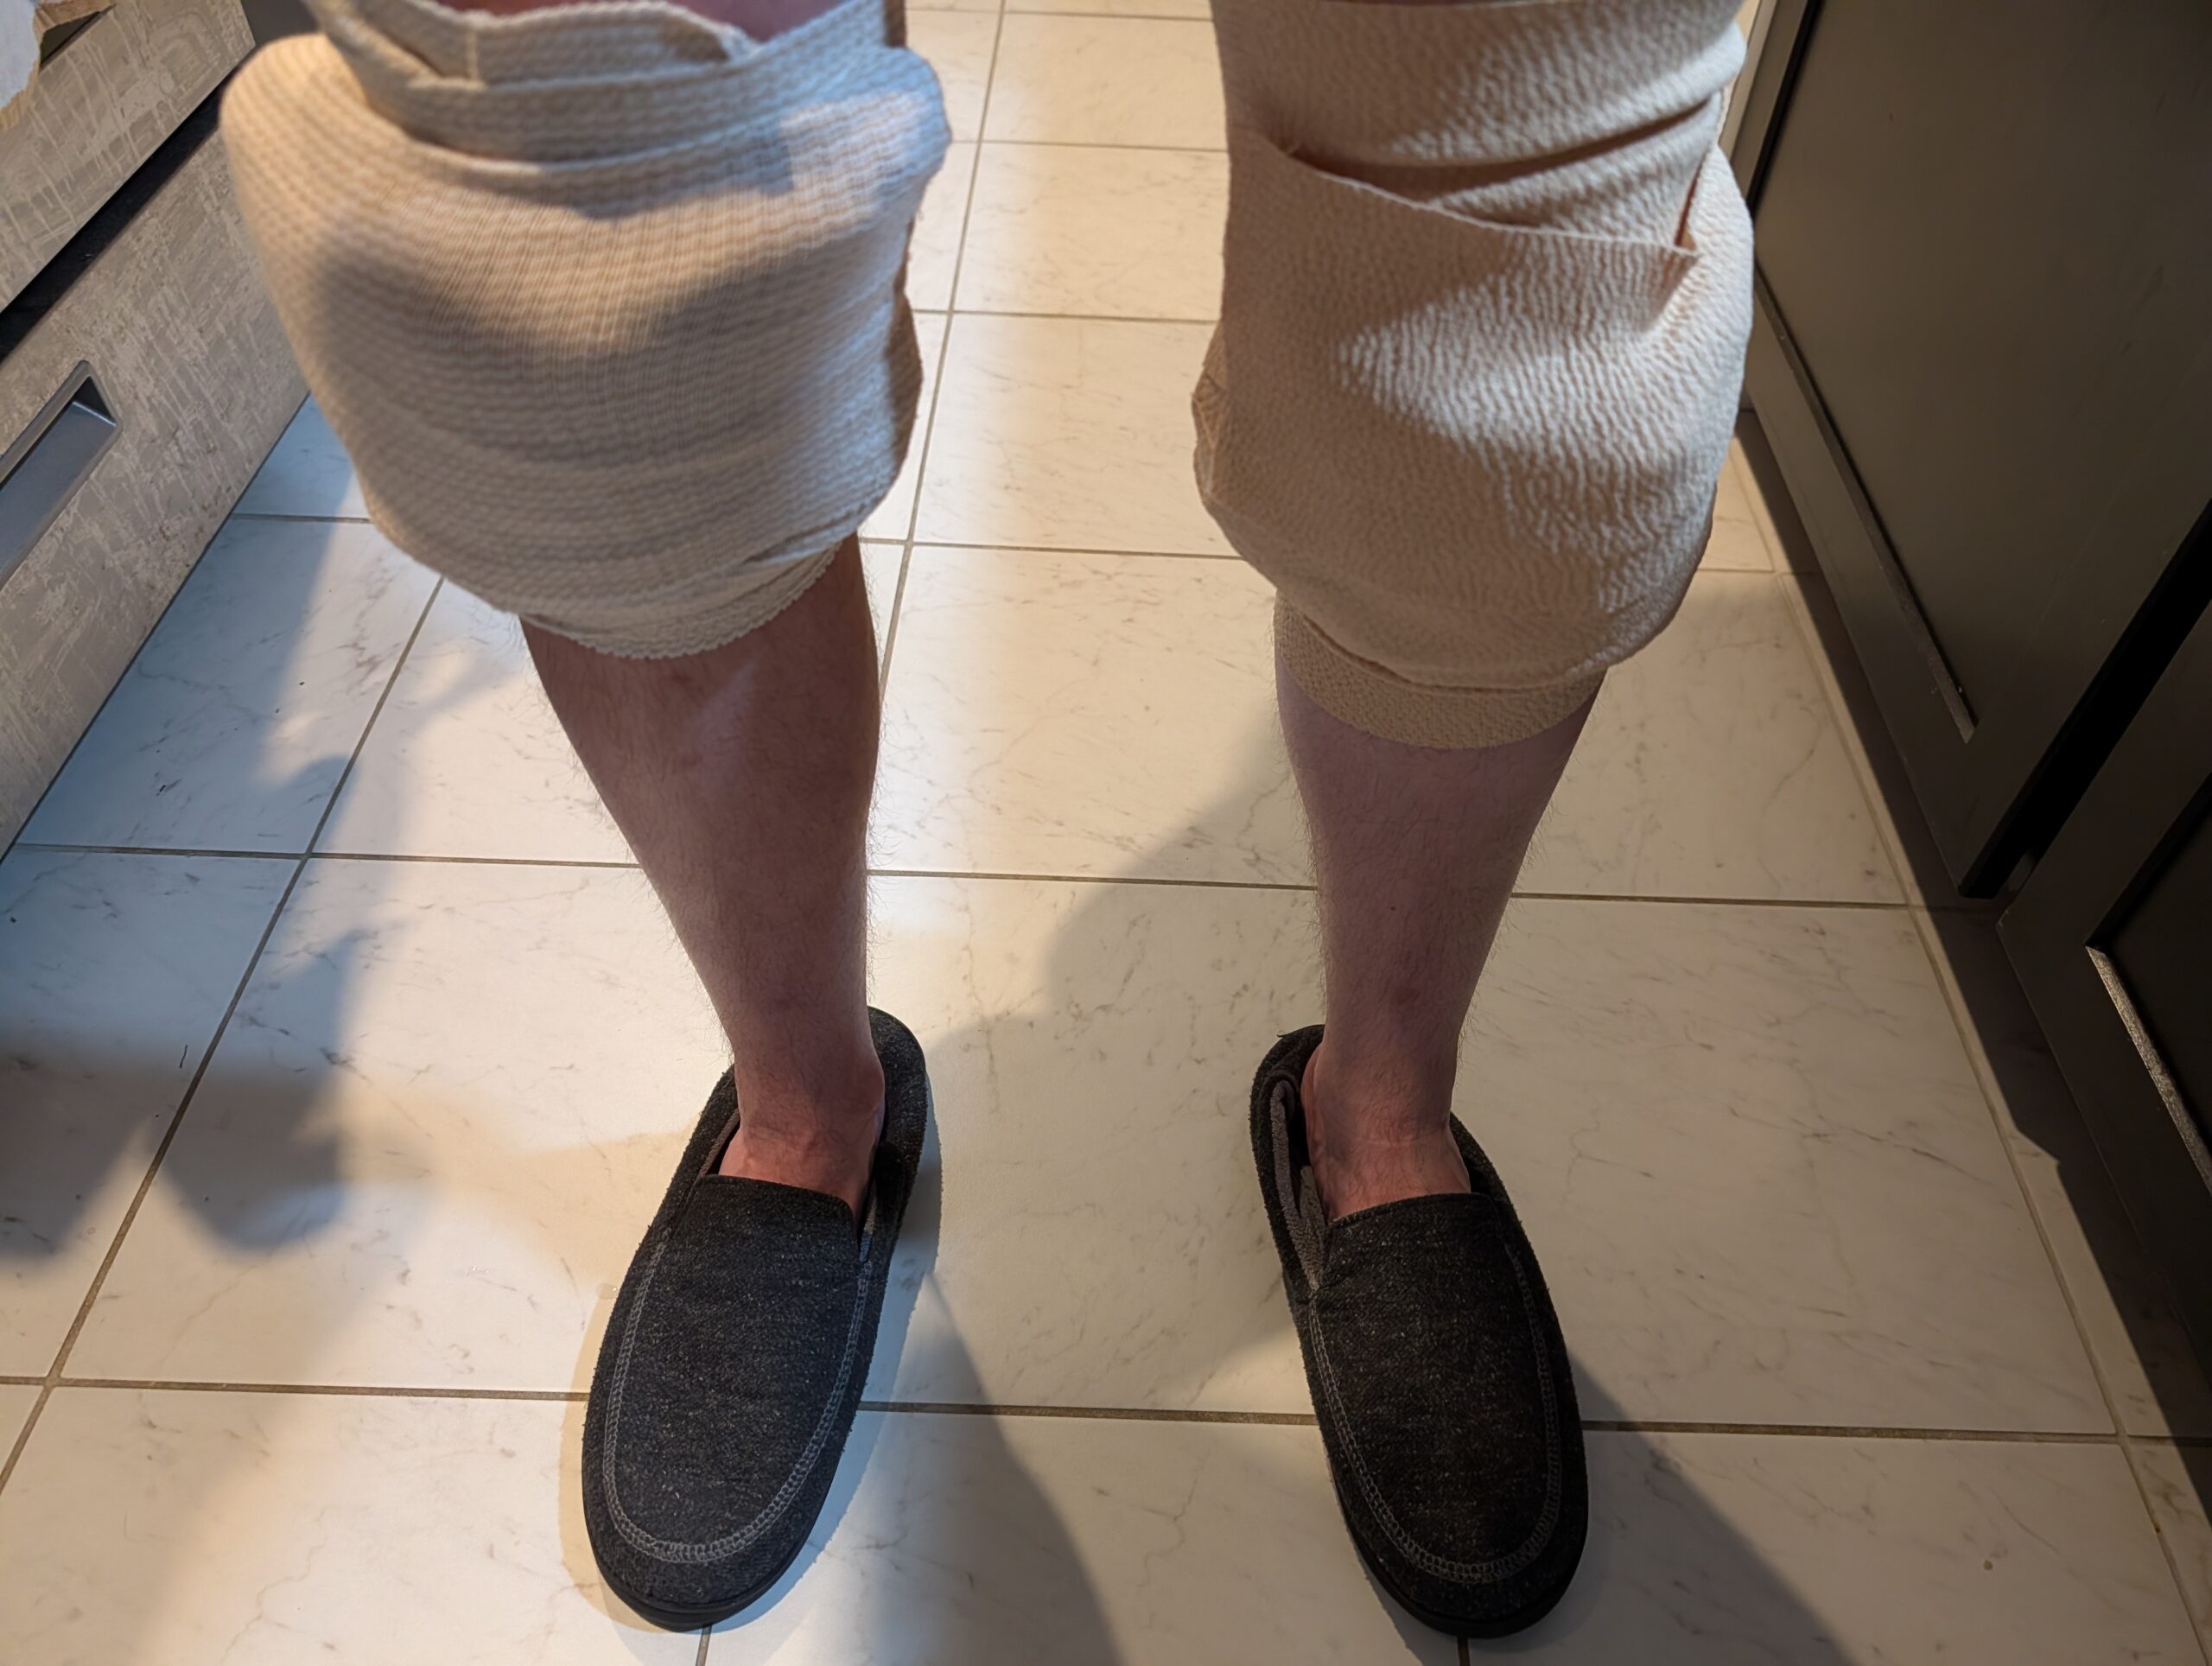
To try and help with ankle and knee pain, I’ve rolled in some targeted strength training to try and condition those joints better. I try to do all sorts of ankle deflections into resistance bands, calf raises, and single-leg standups when I can. I was good about ankle training for a few weeks, but I’ve fallen off on all of these lately – It just is so unsatisfying to do these and feels like I’m nickel and dime-ing my time away by adding all these little drills and maintenance activities to the actual workouts. I get that it’s part of the process, but I guess that’s where my self-motivation ends. Until things are back to tolerable, I’m rocking ACE bandages and ice packs on both knees – it actually helps a ton.
As of February 17th 2026 I think my right knee (the crashed-into-a-tree one) is improving, and I’m back to my left leg being the primary concern. I need to get better about these targeted strength drills, and I’m waiting to hear from a physical therapist (via a referral so its kind of out of my hands). I am so stoked to be able to run outside again (its been >4 weeks since I’ve run outside), and even with 14 weeks to go I’m looking forward to not needing to run every day. Don’t let your friends convince you into running a marathon!