While I was still wrapping my brain around how to fly a quadcopter and keep track of how it was oriented in space, I figured that learning to fly a RC plane might be helpful because forward is always known,and up us usually easy to discern unless you’re crashing. I was mostly wrong.
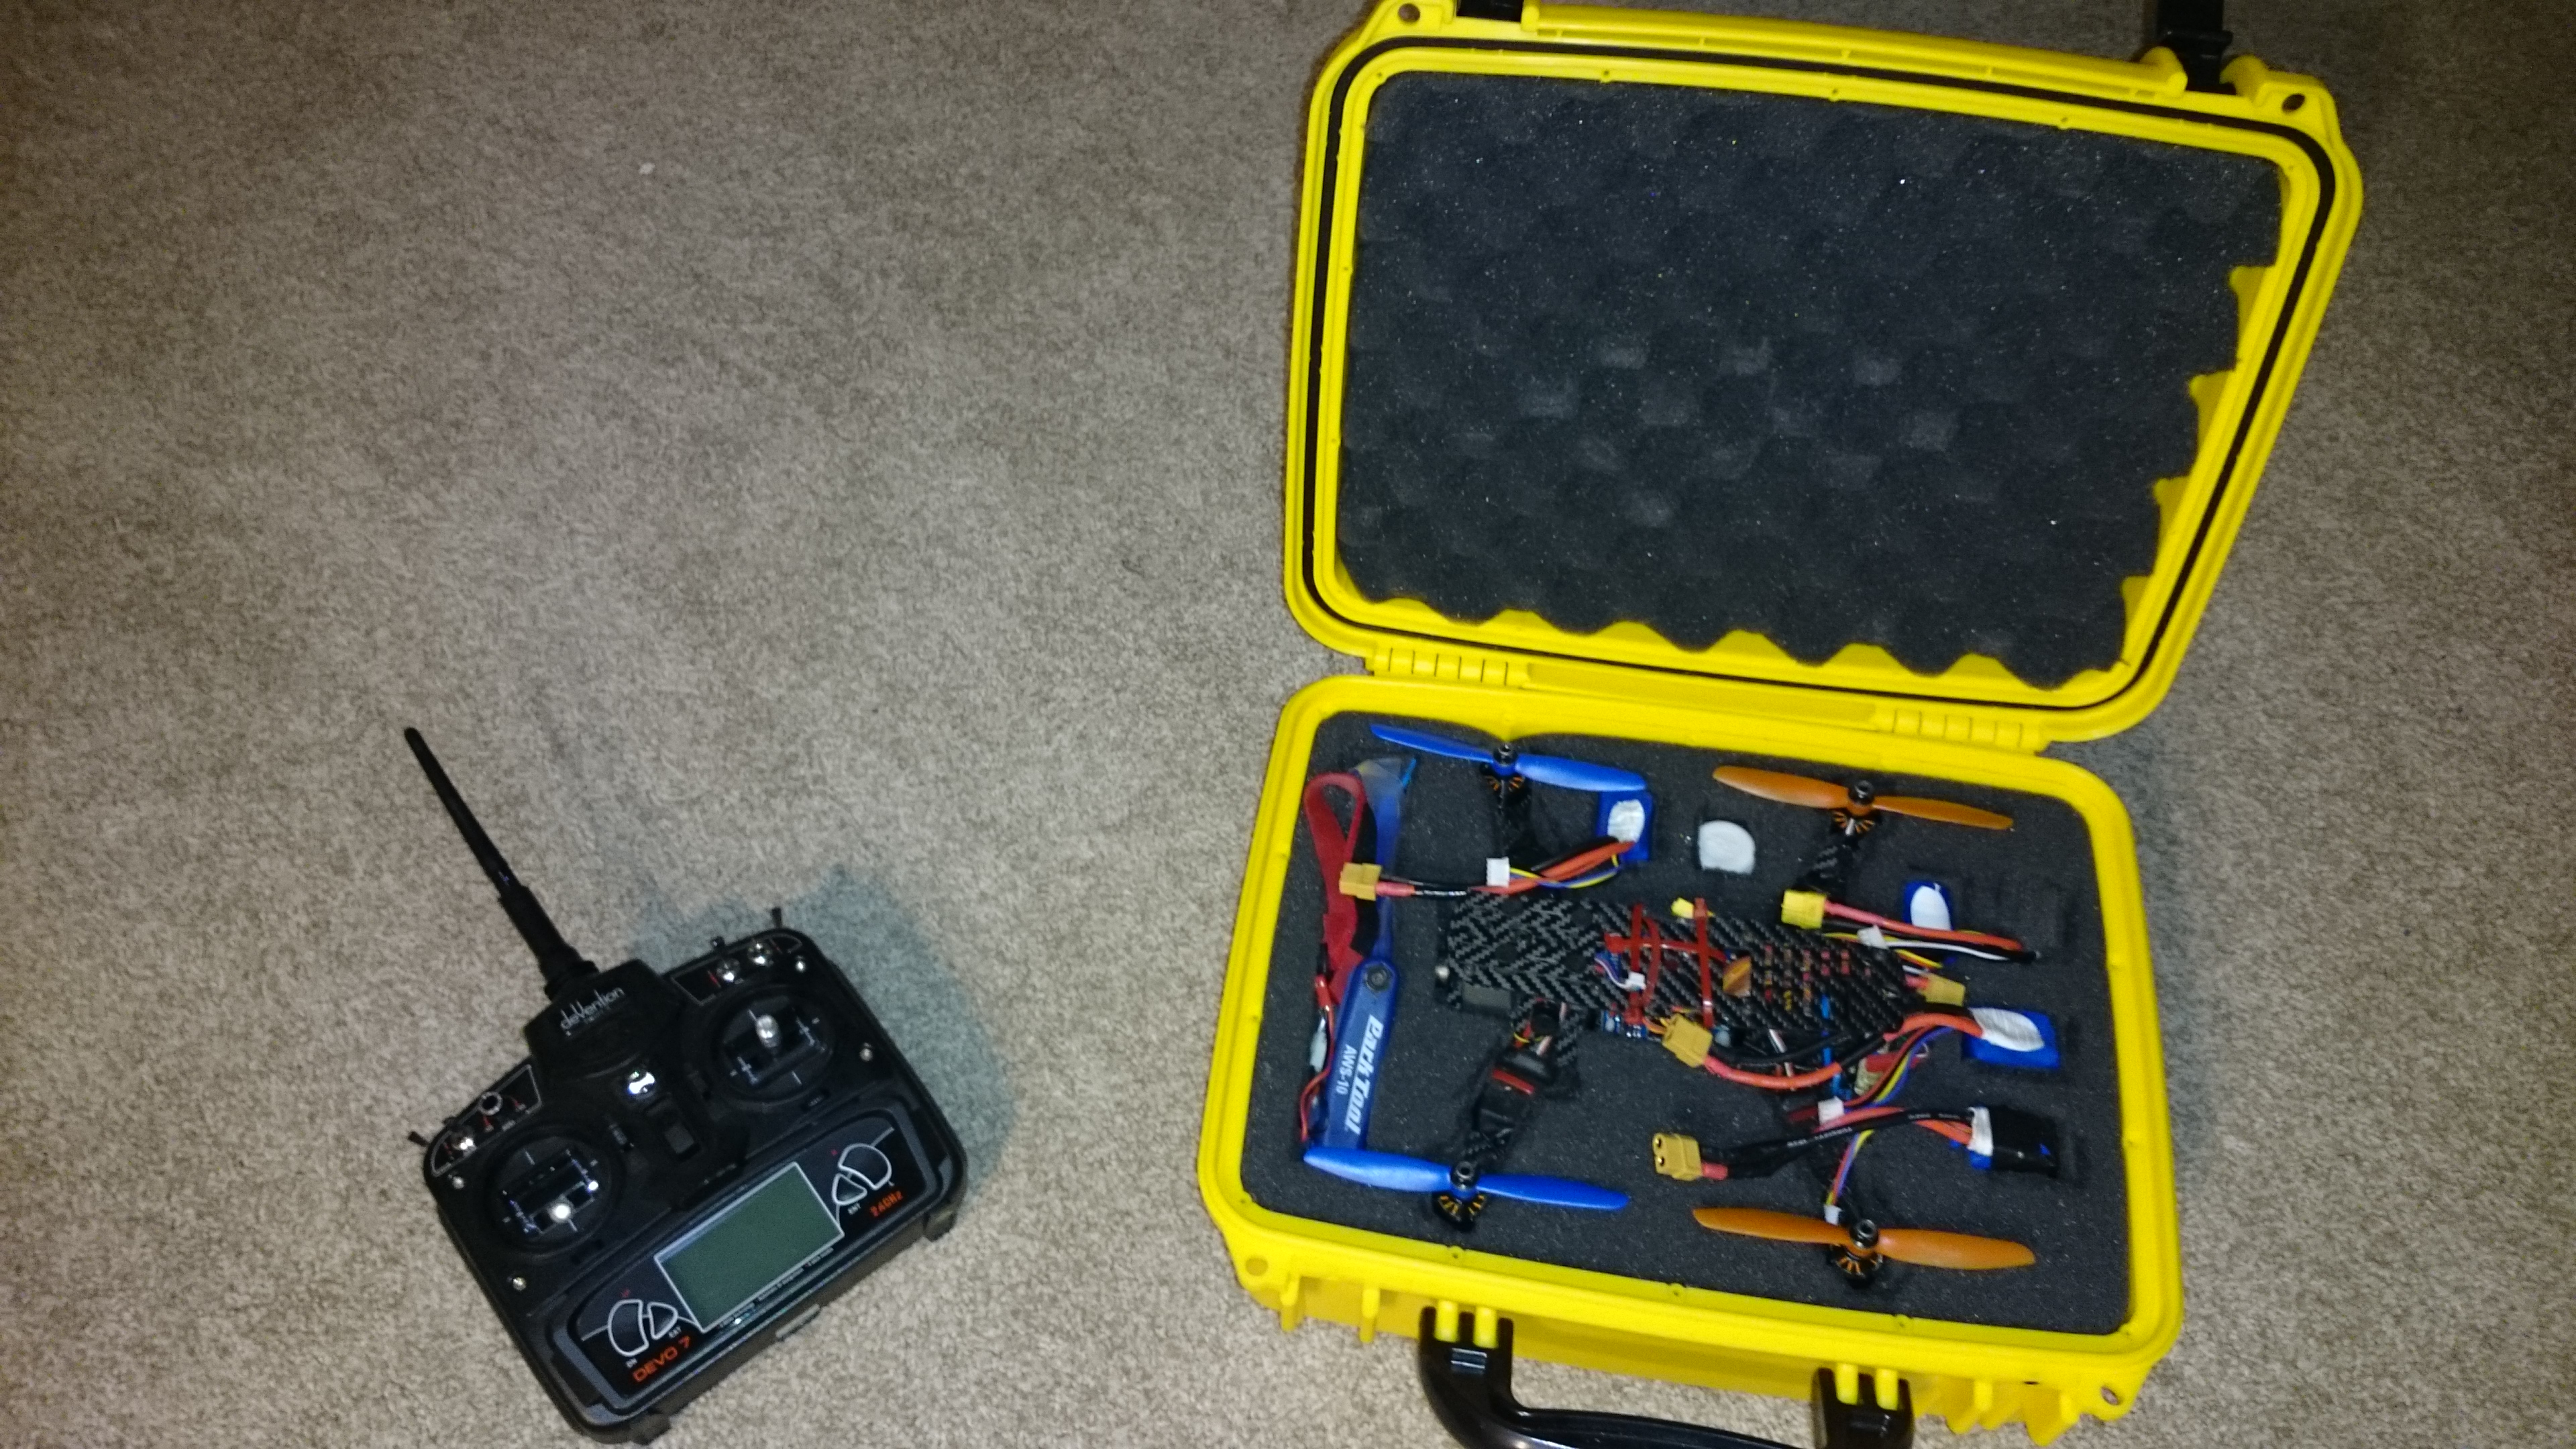
I wanted to build my own air frame because it costs next to nothing once you’ve got the electronics. The cheapest almost ready-to fly (ARF) planes on hobbyking cost at least $40, so I tried to meet or beat that number for my total cost. I ended up needing a motor, speed controller, two servos, battery connector, some wire, and a radio receiver.
Parts cost:
- Set of 10 male and female XT-60 connectors: $10
- 2212, 1000kV motor + 30A speed controller: $17
- 9g servos (5 of them): $12
- Receiver: $18
Extras:
- Spare motor + speed controller (in case I wanted to have dual motors and yaw on a flying wing): $17
- The 3 extra servos from the above order (since I only needed two for my first build)
- 9 extra sets of xt-60 connectors (bought a 10-pair pack)
- Tons of props
- Servo Y leads and extenders: $10
I already had batteries, and props only cost $1-$2 each, so I didn’t include them. All in all, I spent more on my parts than a functional plane would cost, but I could now move all my parts from airframe to airframe with no issue, which would be almost impossible with an off-the-shelf integrated solution.
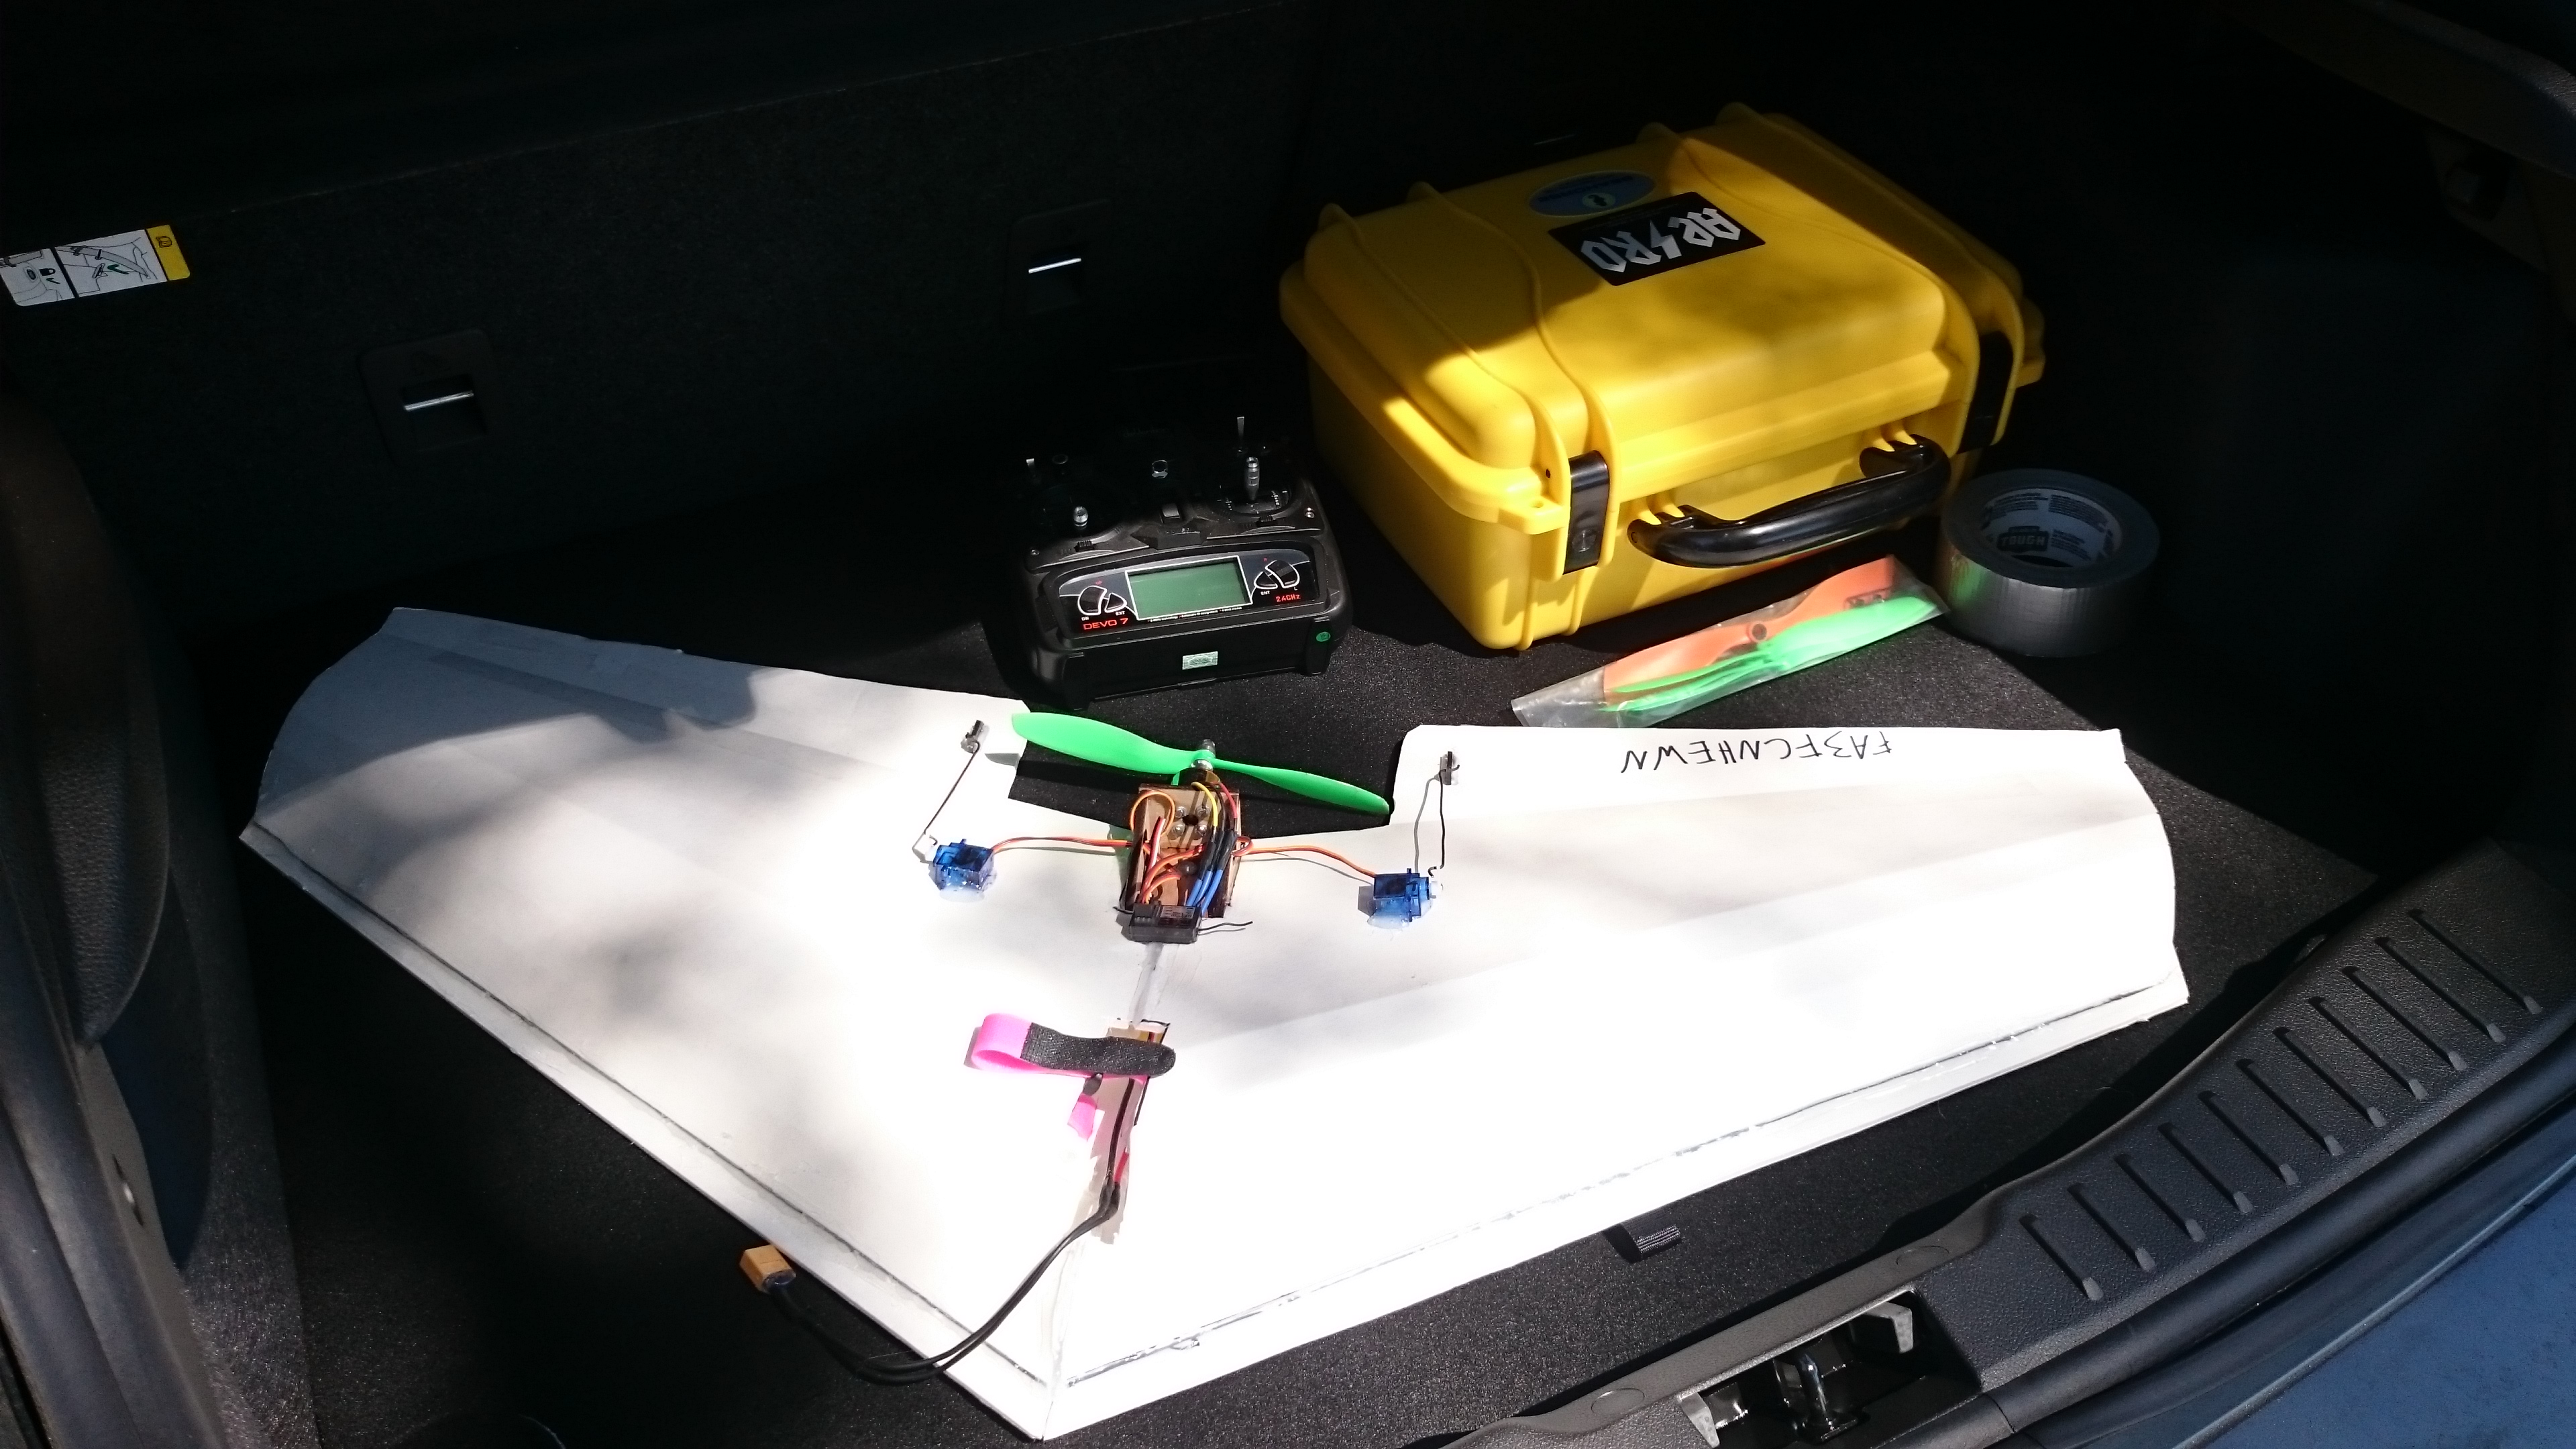
The first plane I built was based off of the Flite Test Versa Wing, in a pusher configuration. I opted for a flying wing style airframe because I wanted as simple of a control scheme as I could possibly have. Minimizing hinges (read: failure points) was also a driver for selecting the flying wing, and as a nice bonus, my radio (Walkera Devo 7) has a pre-canned mixer setting for flying wings, so literally all i had to do was plug the servos into the receiver, and I instantly had pitch and roll control.
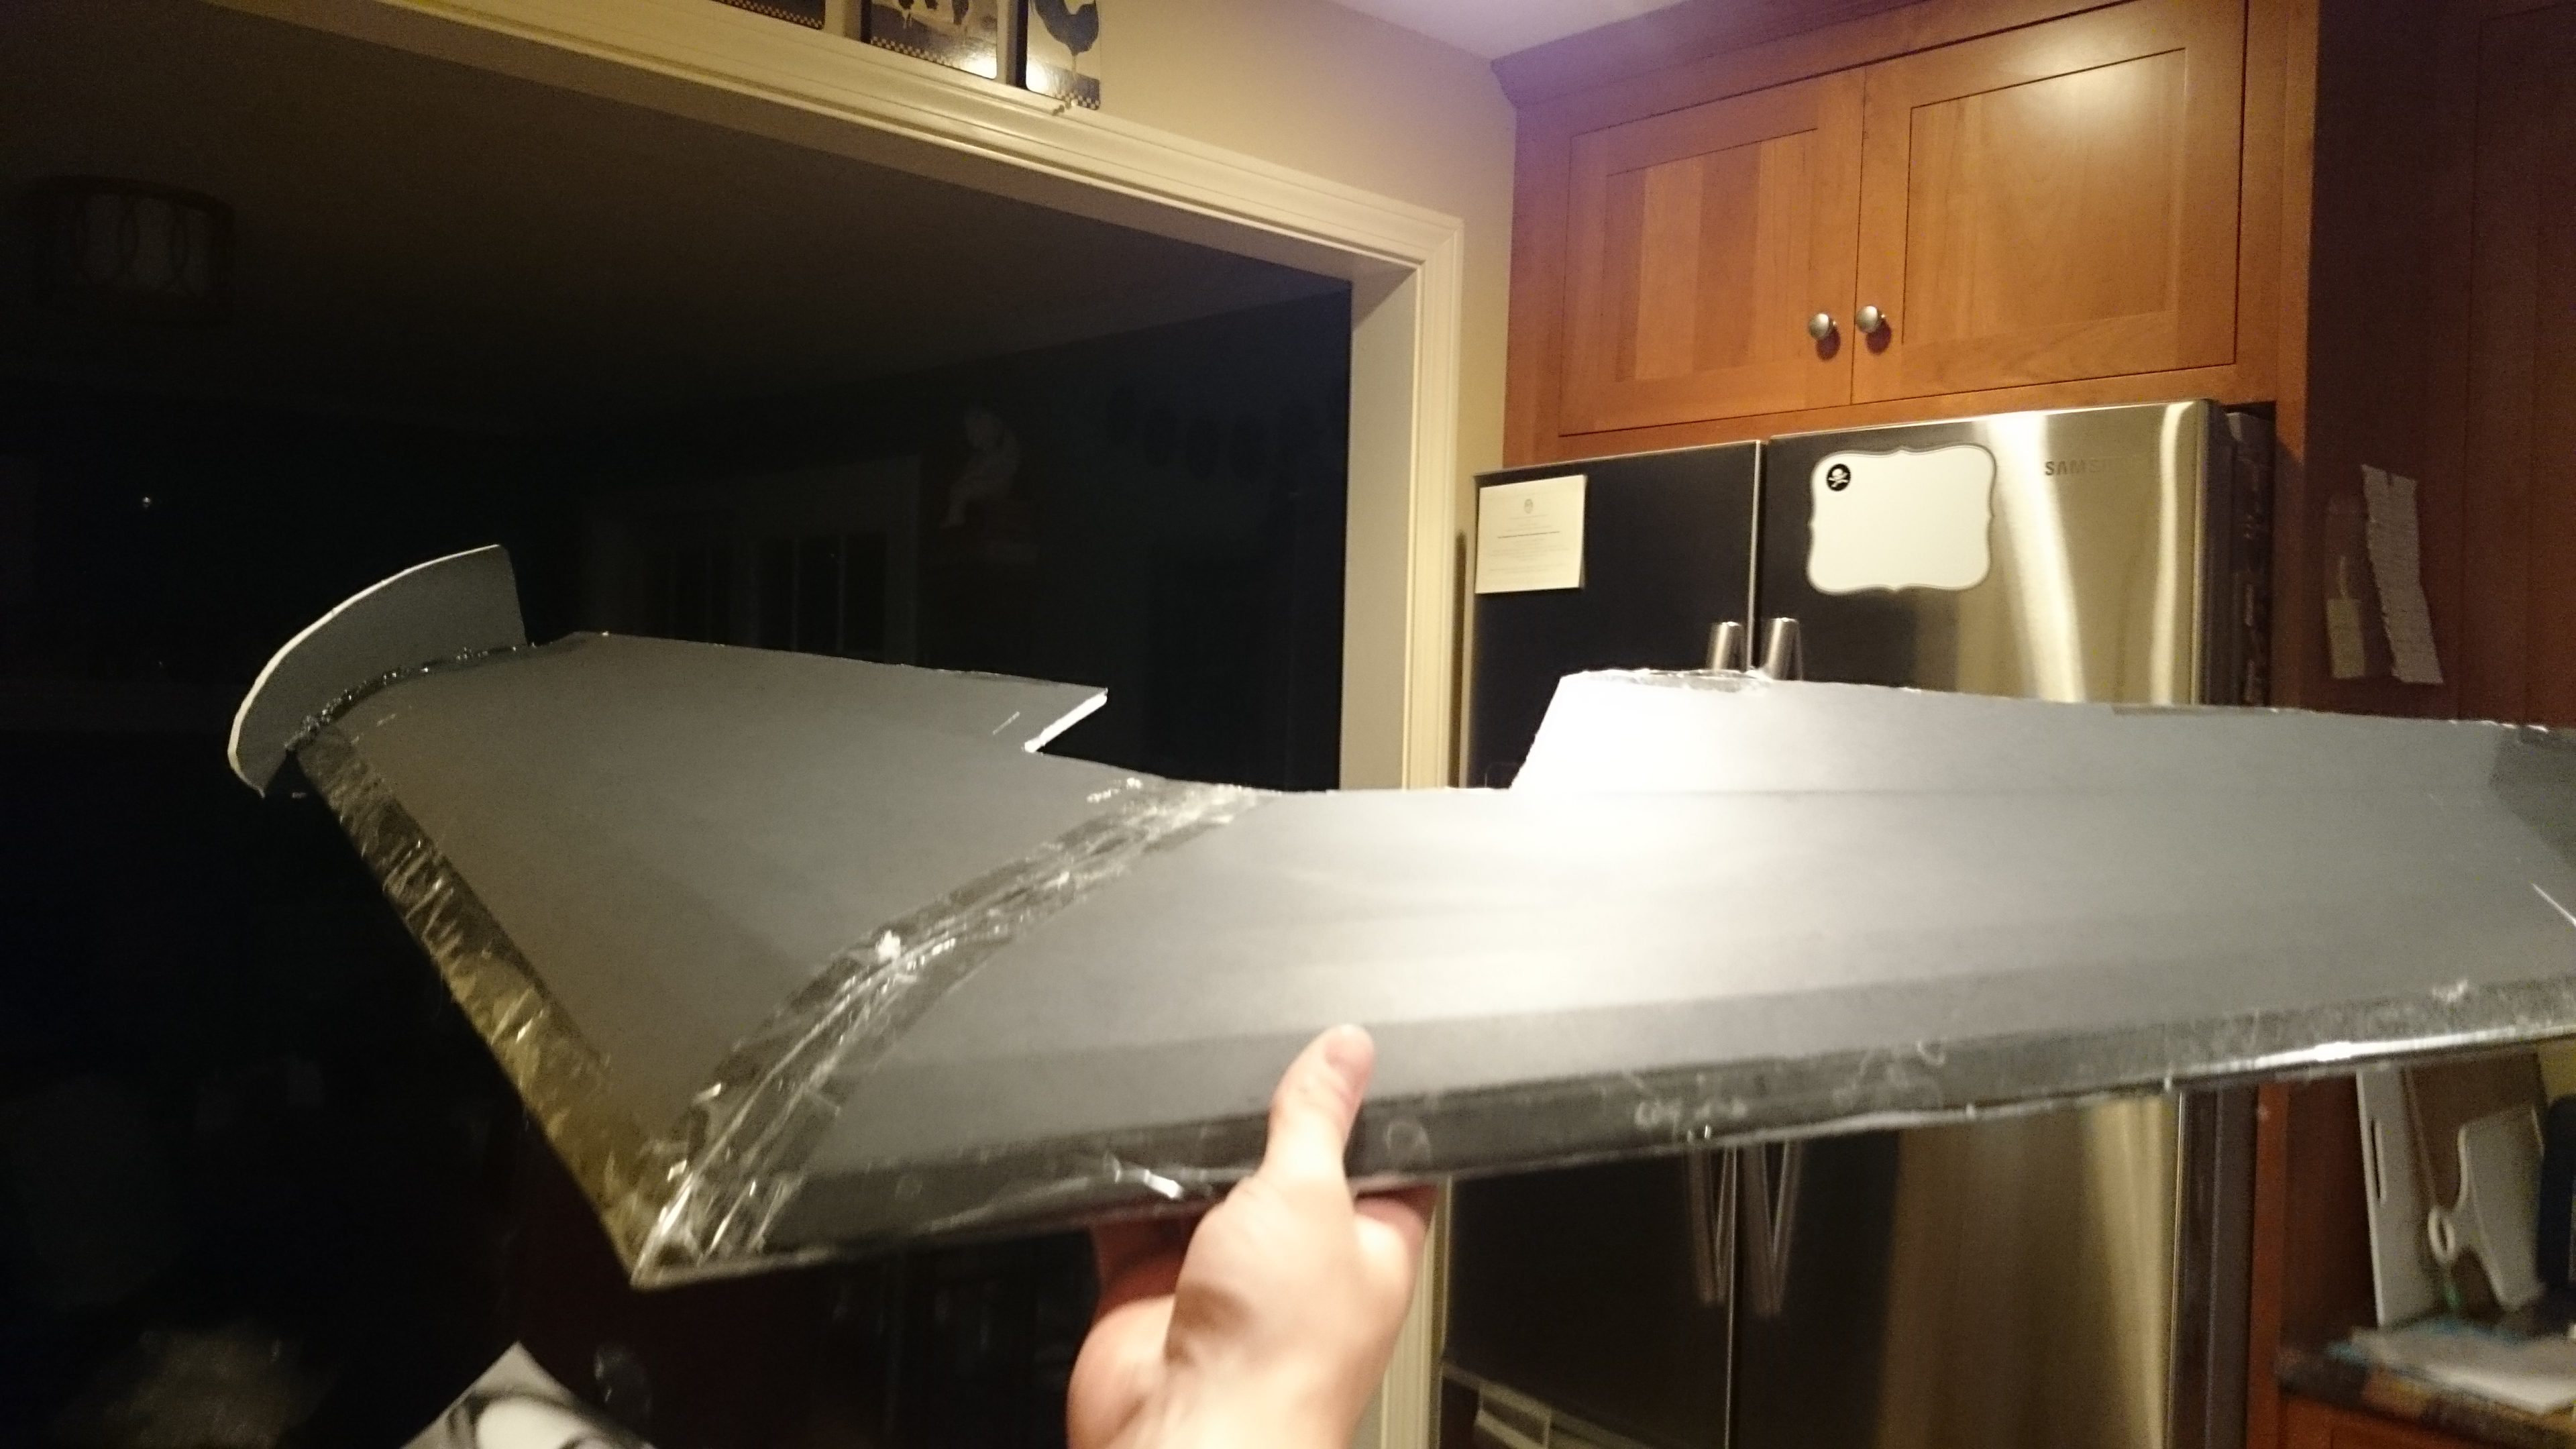
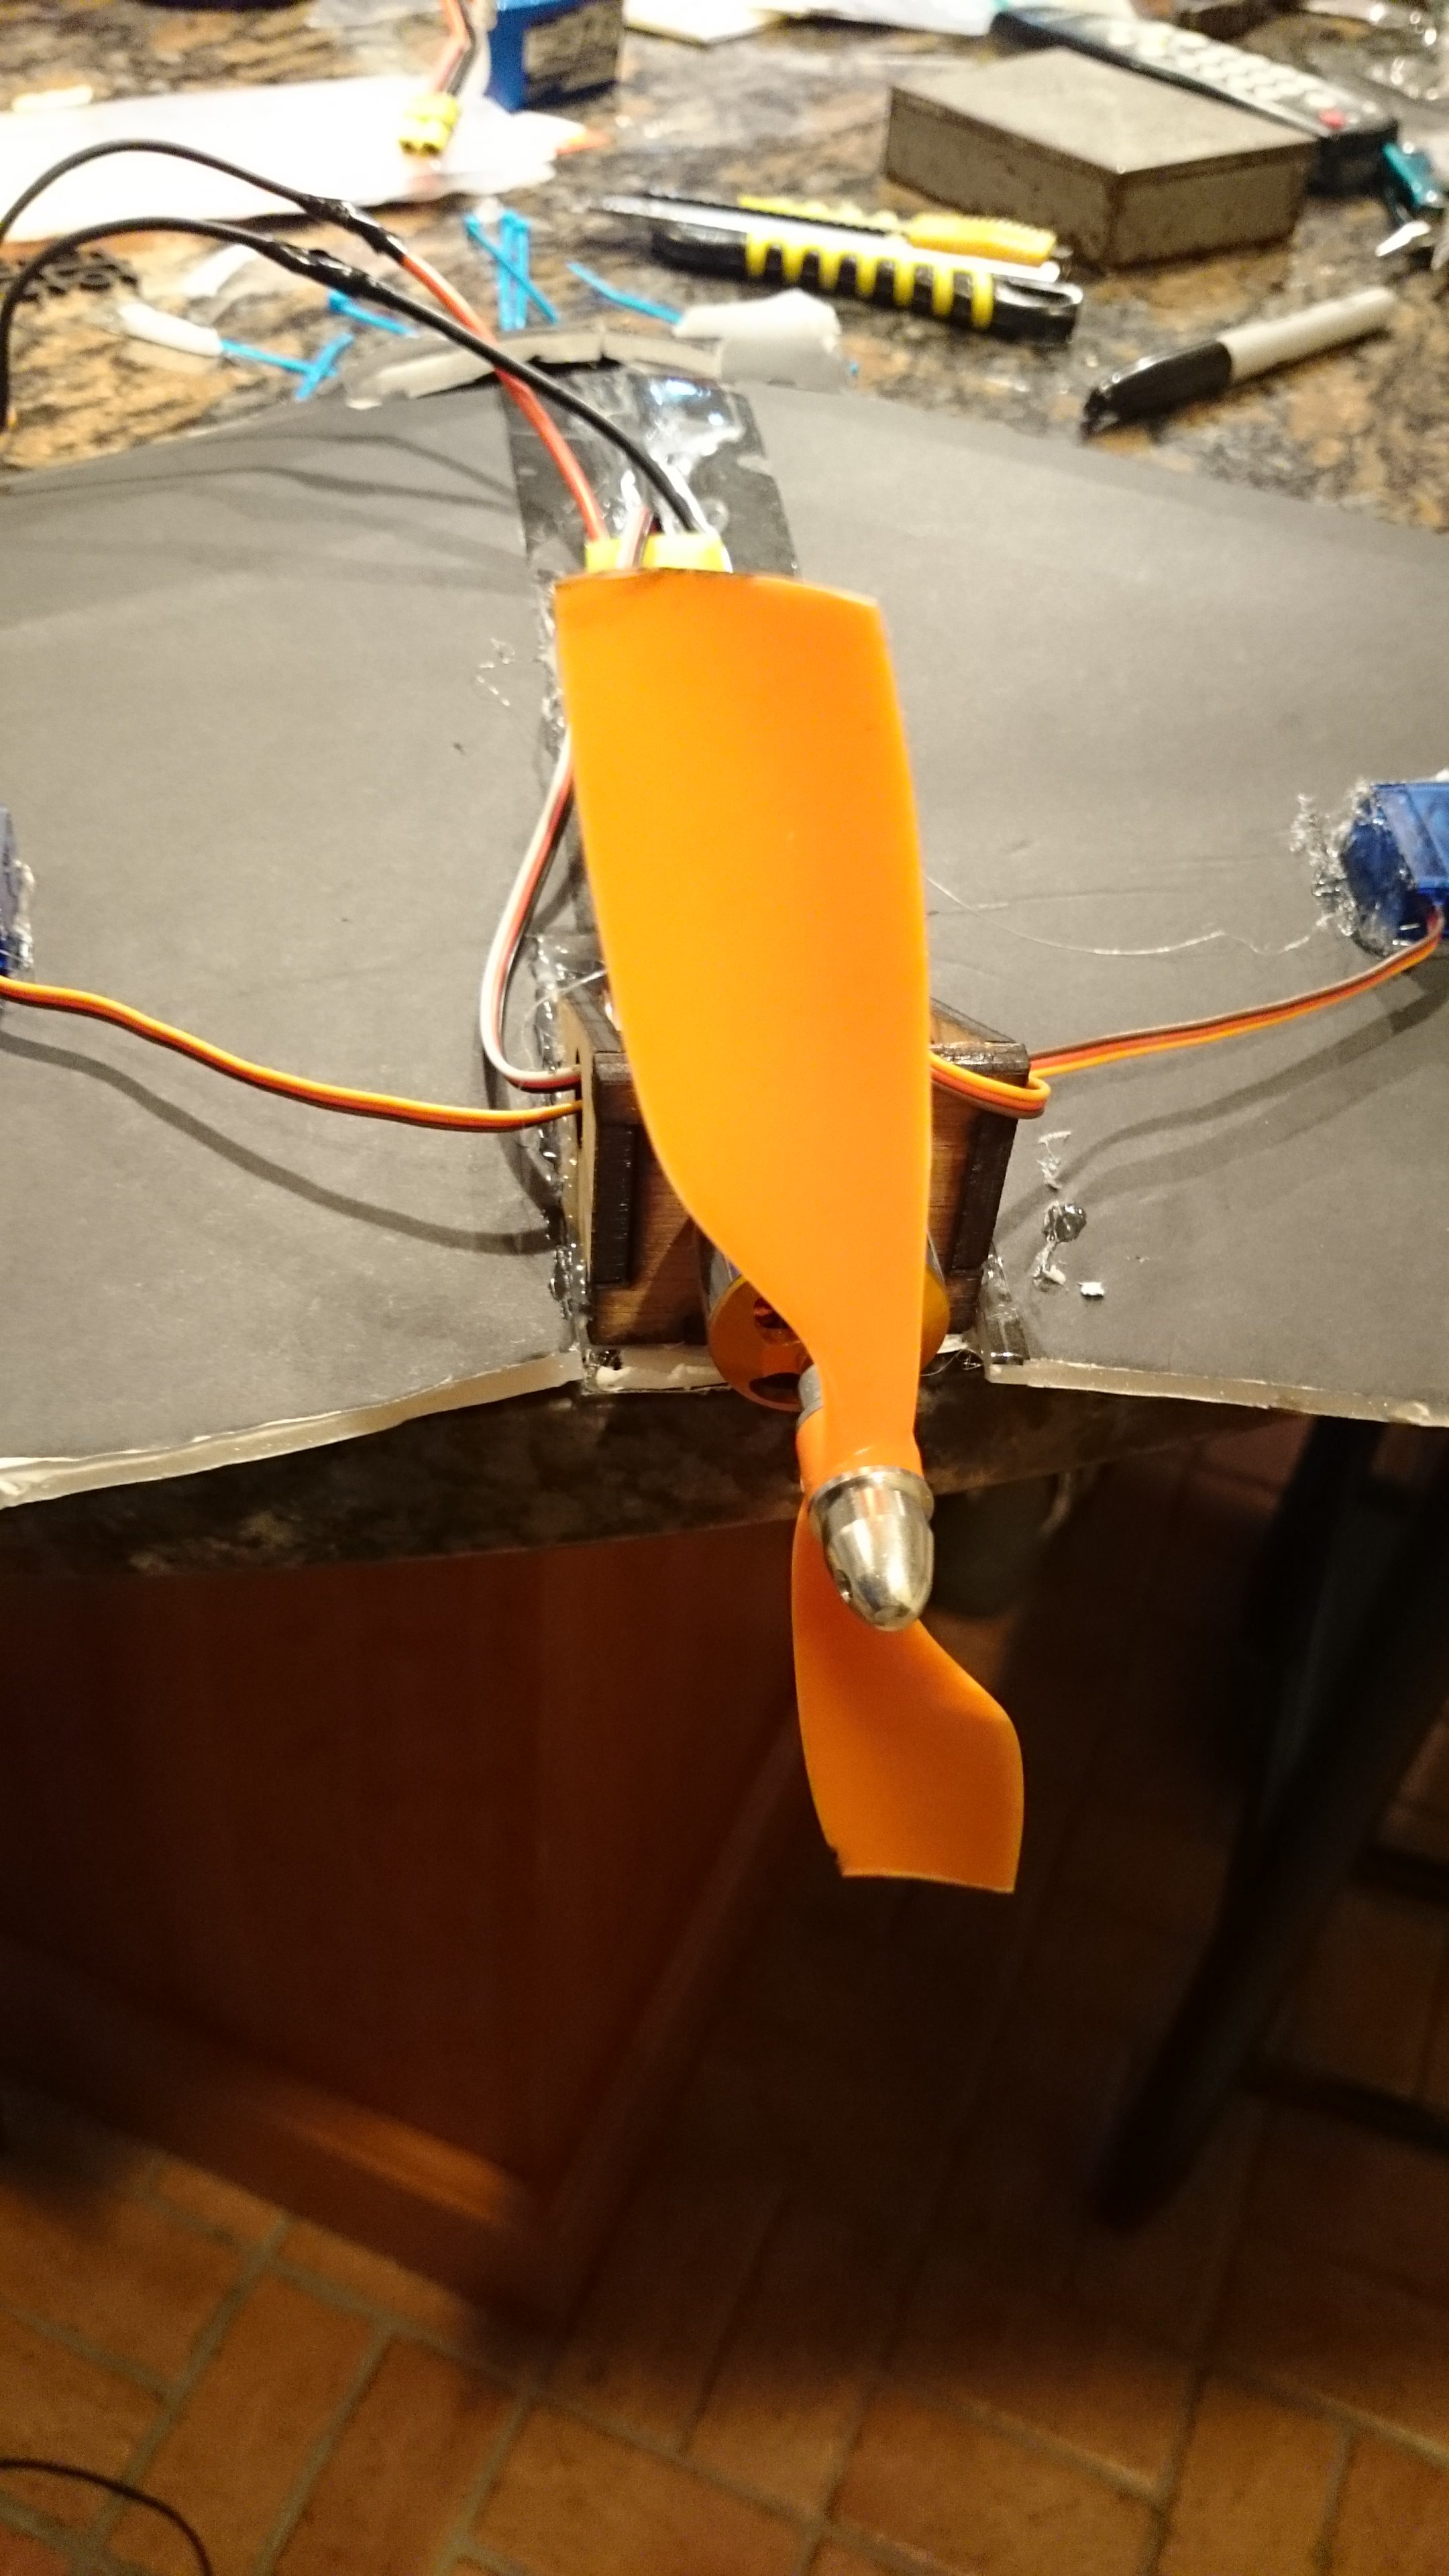
I ended up printing the plans on ~14 sheets of paper, and needed to tile them together, which went pretty well considering my limited arts and crafts skills. Cutting the foam board to shape ended up being pretty tough since I was using the cheapest utility knife that Dollar Tree had and the blades would dull after cutting just a few linear inches. The final glue-up was actually pretty uneventful, and I ended up with this (insert picture of plane in kitchen). To mount the motor, I designed a firewall based on the Flite Test version and cut it out of some 3/16” plywood on the laser cutter at work. Just add a bit of superglue and suddenly you’ve got the single strongest component on the plane
The first batch of propellers that I bought were too long, so they’d clip the control surfaces on the wings. This was easily solved with some scissors, and cutting my own bullnose props. Surprisingly this wasn’t the root cause of future crashes.
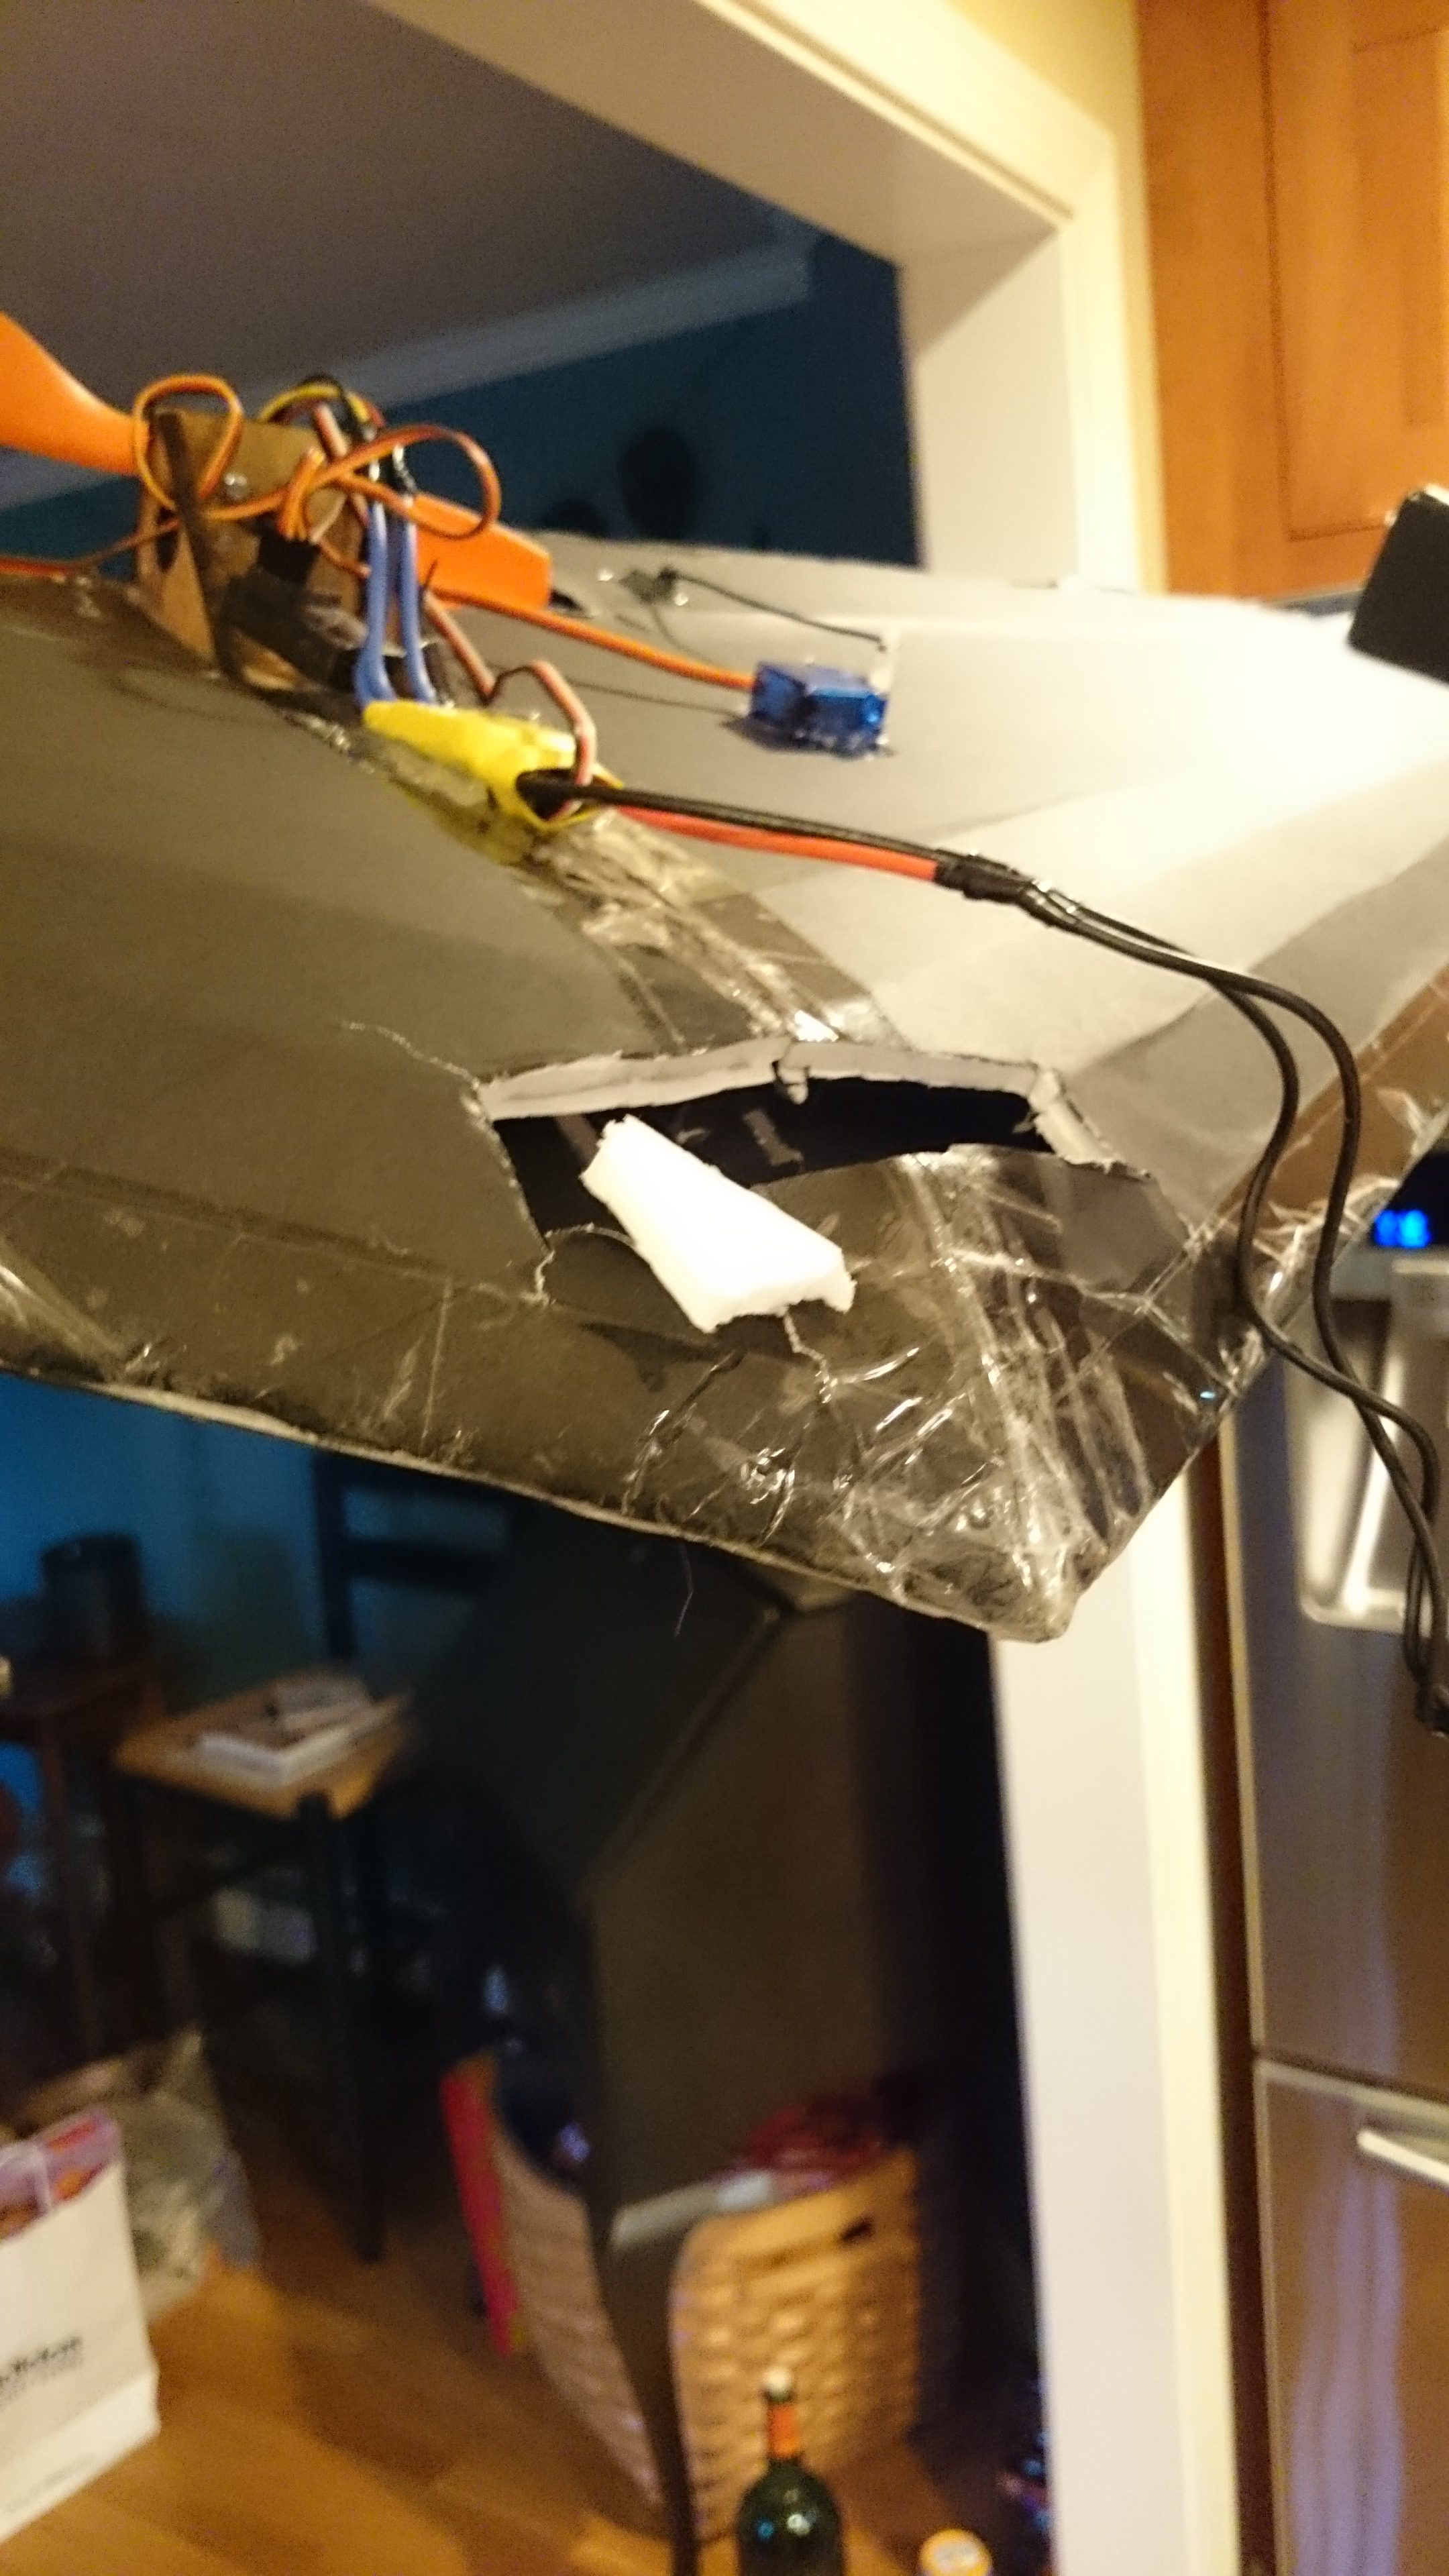
First flights in the back yard were pretty comical. I needed to trim up elevator to the max to have a chance at a decent takeoff, but even when I got it into clear(ish) air control was pretty poor. (Video(s)) here. Moving to a larger field at the local elementary school allowed me to actually fly a little bit, until the battery fell off the nose of the plane and made it do an abrupt front flip, that is. For some reason I never added any kind of battery retention device on top of the slight press fit into the hole I cut. I’ve done destructive testing on LiPo batteries, and I would not have expected that these batteries could survive ~40 foot drops, even onto grass. (They’re still good a few months later too!)
By mid-August 2015 I had crashed that plane so many times that the nose point was pretty much a pile of dust held in the general shape of a plane by the layers of tape I had applied. I stripped the electronics, scrapped the airframe, packed the leftovers into a miscellaneous box, and moved to Detroit. The parts sat in that box until May 2016, when I started building another plane.
This time, I had the worst $30 printer that Office Max could possibly to print my plans, which meant that most of the lines didn’t quite line up and lead to some serious confusion when I was comparing the two halves prior to gluing. Currently (June 2016), the new airframe is complete, but the only bit of electronics mounted to it are the motor and firewall. I still need to mount the servos and control horns for control surfaces, motor controller, and battery. The priority is to get the balance of the plane right this time so I don’t need to trim the radio to the max to get stable flight, and the plan is to mount it so that it is on the seam of the two halves, and use a Velcro strap to avoid un-planned acrobatics in the air.
It turns out that this second aircraft had awful balance. So much worse than the first one, seriously. I tried launching it a few times in a field by my apartment, only to have it nose dive every time. It was a real ground-seeking missile.
The 2nd flying wing still exists in its complete form, but now the plan is to build a Flite Test power pack, and just build swappable airframes. Supposedly flying wings are notoriously difficult to fly, especially for beginners, so I’ll be starting (again) with a more basic design.